GRILLED FLAVORS
where delicious ideas come to life, from stovetop to backyard. Warm, simple, and always satisfying. 🍽️✨
BEST CATEGORIES
TRENDING
. Boil the corn until tender. Fill a large pot with water. Bring it to a boil. Once boiling, add the husked corn. Cook for about 5-7 minutes. The corn should be tender. Drain and let it cool slightly. In a small bowl, combine melted butter and minced garlic. Mix well. Set it aside to allow the flavors to infuse. This step is key for rich taste. Once the corn is cool enough to handle, brush or spoon the garlic butter mixture on the corn. Make sure to coat it well. Next, sprinkle with Parmesan cheese and spices. The cheese adds a great flavor and texture. To get the best flavor, grill the corn. Preheat your grill to medium-high heat. Place the butter-coated corn directly on the grill. Cook for about 6-8 minutes. Turn the corn occasionally. You can also bake it in the oven. Set your oven to 400°F (200°C). Bake for about 10 minutes until golden. Once cooked, remove the corn from the grill or oven. Garnish with chopped parsley before serving. This adds a fresh color and flavor. Enjoy your cheesy garlic butter corn on the cob hot! For the full recipe, check out the recipe section. - Use fresh ingredients for best taste. Fresh corn gives you sweetness and crunch. - Let garlic butter sit longer for enhanced flavor. This step makes the garlic taste brighter. - Avoid overcooking the corn to maintain texture. Cook it just until tender, around 5-7 minutes. - Grill with the husk on for a smoky flavor. The husk helps keep moisture in while cooking. - Pair with grilled meats or salads. The rich flavor of the corn complements many dishes. - Serve at summer barbecues or family gatherings. This dish is always a hit with everyone. {{image_2}} You can swap Parmesan with feta or cheddar. Each cheese brings a unique taste. Feta adds a tangy bite, while cheddar gives a rich flavor. Mixing different cheeses can create fun new flavors. Try mozzarella for a creamier texture or gouda for a smoky twist. Want a spicy kick? Add chopped jalapeños or a sprinkle of chili powder. Red pepper flakes come in many types. You can choose mild, medium, or hot. This allows you to control the heat level. Experiment to find your perfect spice balance. Herbs can change the dish's flavor profile. Try cilantro or chives for a fresh twist. You can also squeeze in lime juice for a zesty kick. Fresh herbs brighten the taste and add a pop of color. Feel free to mix and match herbs to your liking. After enjoying your cheesy garlic butter corn on the cob, store any leftovers in an airtight container. This keeps the corn fresh and tasty. It tastes best if you eat it within 2-3 days. Beyond that, you might lose some of the flavor and texture. When you want to enjoy your leftovers, use the microwave for a quick reheat. Just place the corn on a microwave-safe plate and heat for about 30 seconds. If you prefer to keep that nice crunch, reheat them in the oven. Preheat your oven to 350°F (175°C) and warm the corn for about 10 minutes. You can freeze the corn before or after cooking it. If you freeze it before cooking, just husk and clean the corn, then wrap it tightly. For cooked corn, let it cool down first. Then, flash freeze it on a tray. Once frozen, transfer the ears into freezer bags. This method helps with portion control and makes it easy to pull out just what you need later. To get tender corn, boil it for 5-7 minutes. Make sure the water is at a rolling boil before adding the corn. To test if it’s done, pierce a kernel with a fork. It should feel soft but still have a slight crunch. Yes, you can prep this dish in advance. Boil the corn and let it cool. Then, wrap it in foil and store it in the fridge. You can make the garlic butter ahead too. Just mix it and store it in a jar. This corn pairs well with grilled meats like chicken or steak. A fresh salad or coleslaw can add a nice crunch. You can also serve it with baked beans for a hearty side. Yes, you can swap the butter for a plant-based spread. Use a vegan cheese or nutritional yeast instead of Parmesan. This will keep the dish tasty and plant-based. Frozen corn works fine but changes the texture. If you use frozen corn, boil it for a few extra minutes. Fresh corn gives the best flavor, but frozen is a quick option. Grilling takes about 6-8 minutes. Preheat your grill to medium-high. Turn the corn every couple of minutes to get even grill marks. If you want a smoky flavor, grill it with the husk on. For the full recipe, check it out here: [Full Recipe]. This blog post covered how to make cheesy garlic butter corn on the cob. We discussed key ingredients like fresh corn, garlic, and butter. You learned step-by-step instructions, cooking methods, and even tips for storing leftovers. In closing, you can make this dish uniquely yours. Experiment with different cheeses, herbs, or spices. Enjoy this easy and tasty treat at your next gathering!](https://grilledflavors.com/wp-content/uploads/2025/06/ec9040e1-4fce-4c1a-adcb-de799d98668a.webp)

NEW RECIPES
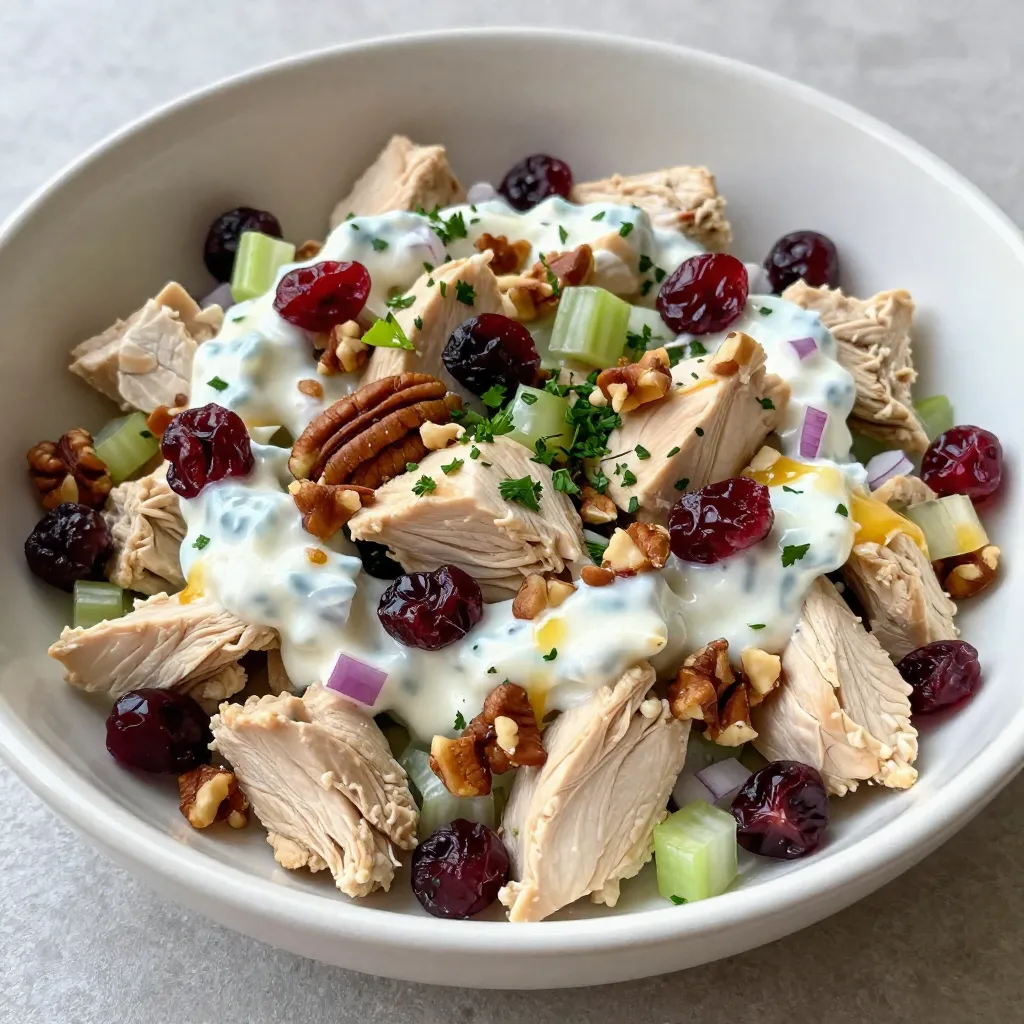
Cranberry Pecan Chicken Salad Nutritious and Tasty
Welcome to your new favorite salad! My Cranberry Pecan Chicken Salad is both tasty and nutritious. It combines juicy chicken, crunchy pecans, and sweet cranberries
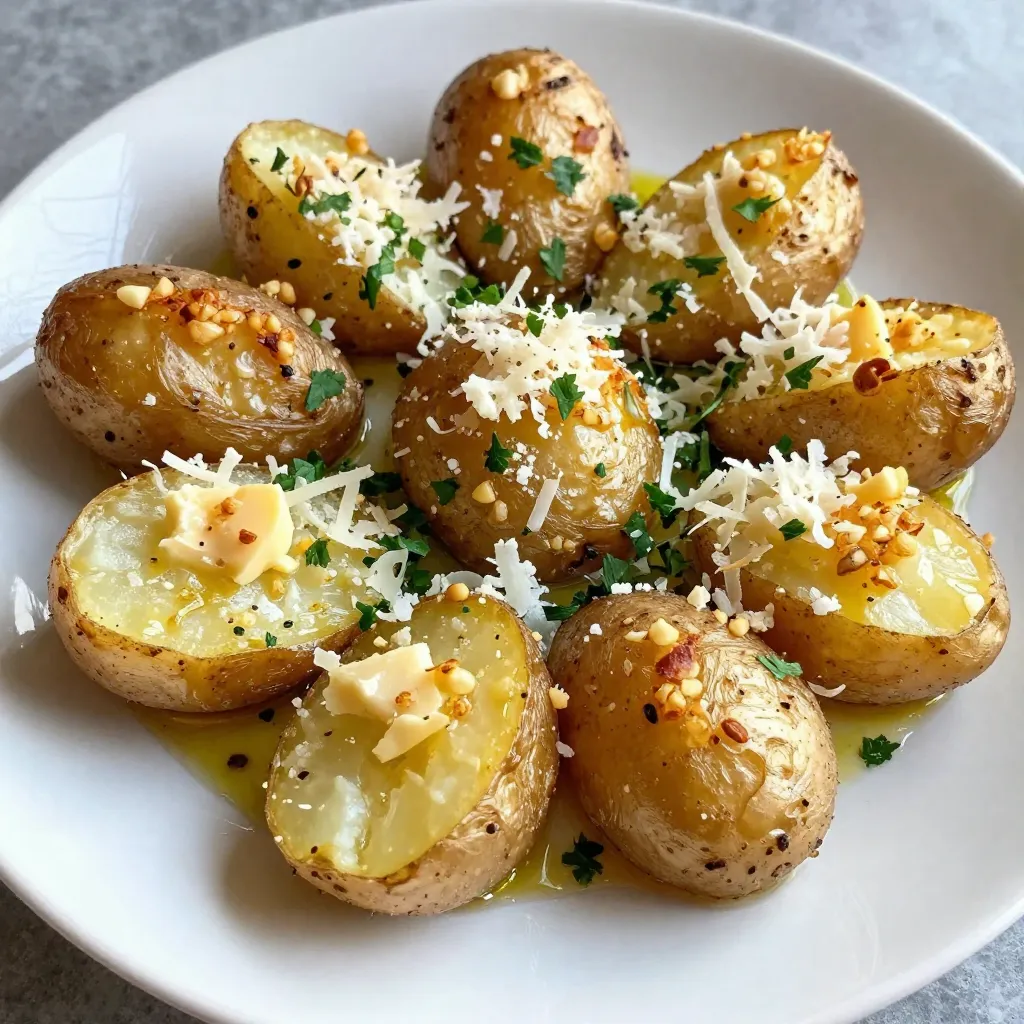
Garlic Parmesan Smashed Potatoes Flavorful Side Dish
If you’re looking for a side dish that wows, try Garlic Parmesan Smashed Potatoes. These crispy, buttery bites are packed with flavor and easy to
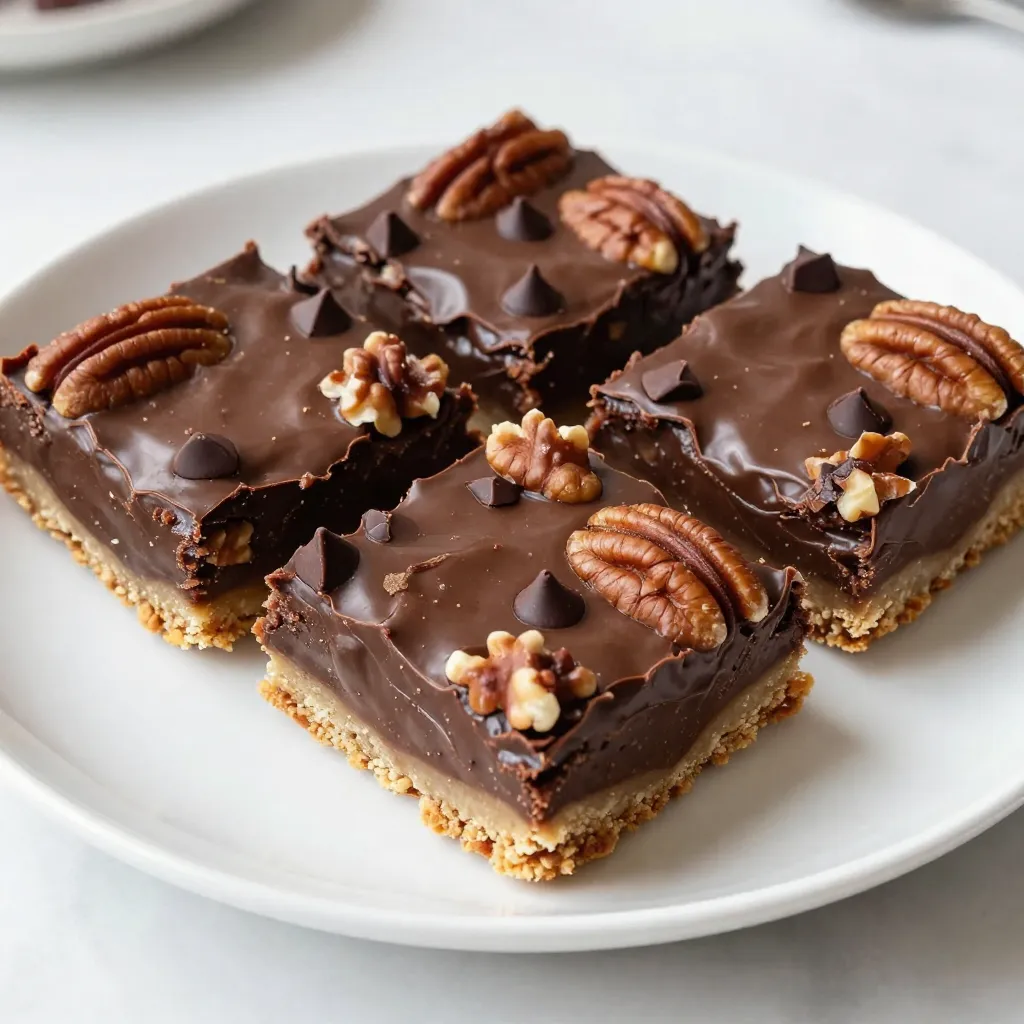
Chocolate Pecan Pie Bars Rich and Decadent Treat
Get ready to indulge in a treat that combines your favorite flavors: chocolate, pecans, and rich creaminess! In this article, I’ll guide you step-by-step to
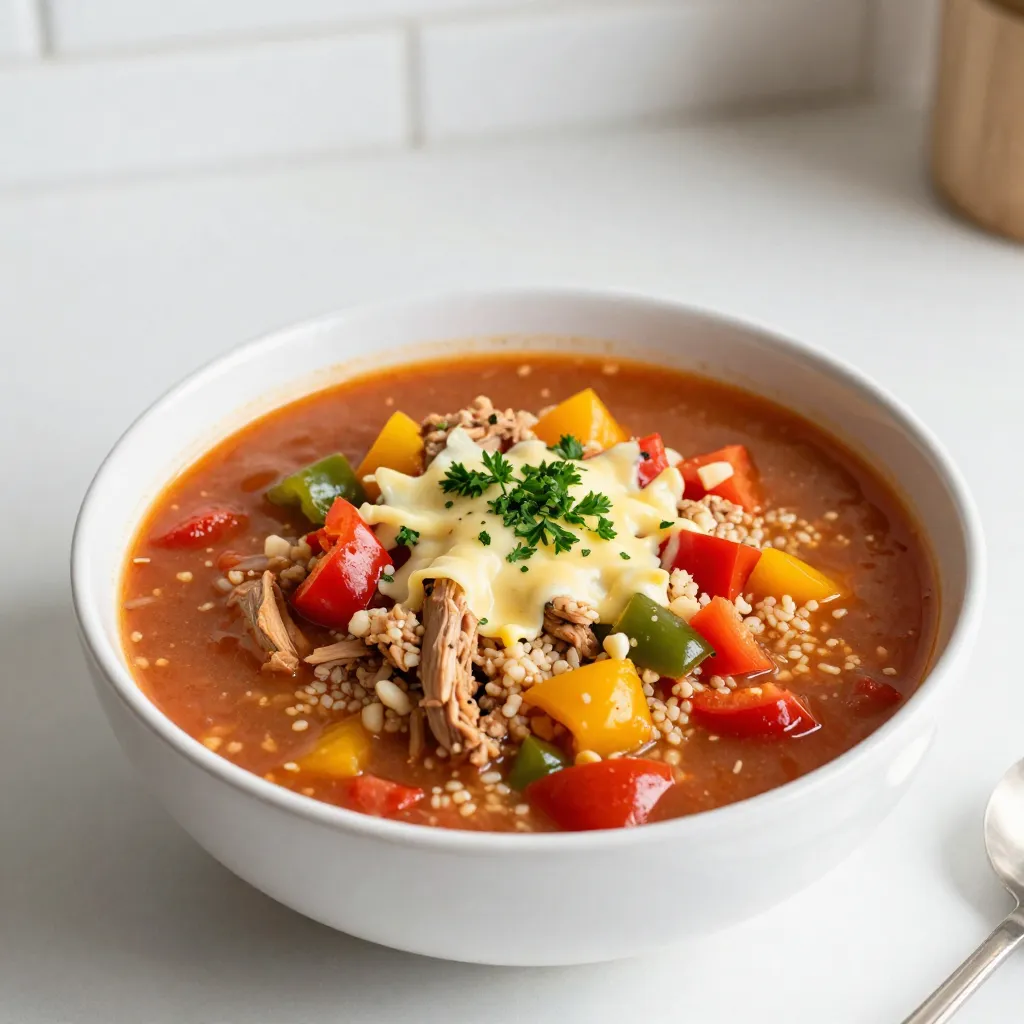
Stuffed Bell Pepper Soup Flavorful and Hearty Meal
Warm, hearty, and packed with flavor, stuffed bell pepper soup is a twist on a classic dish. This recipe combines the wholesome goodness of ground
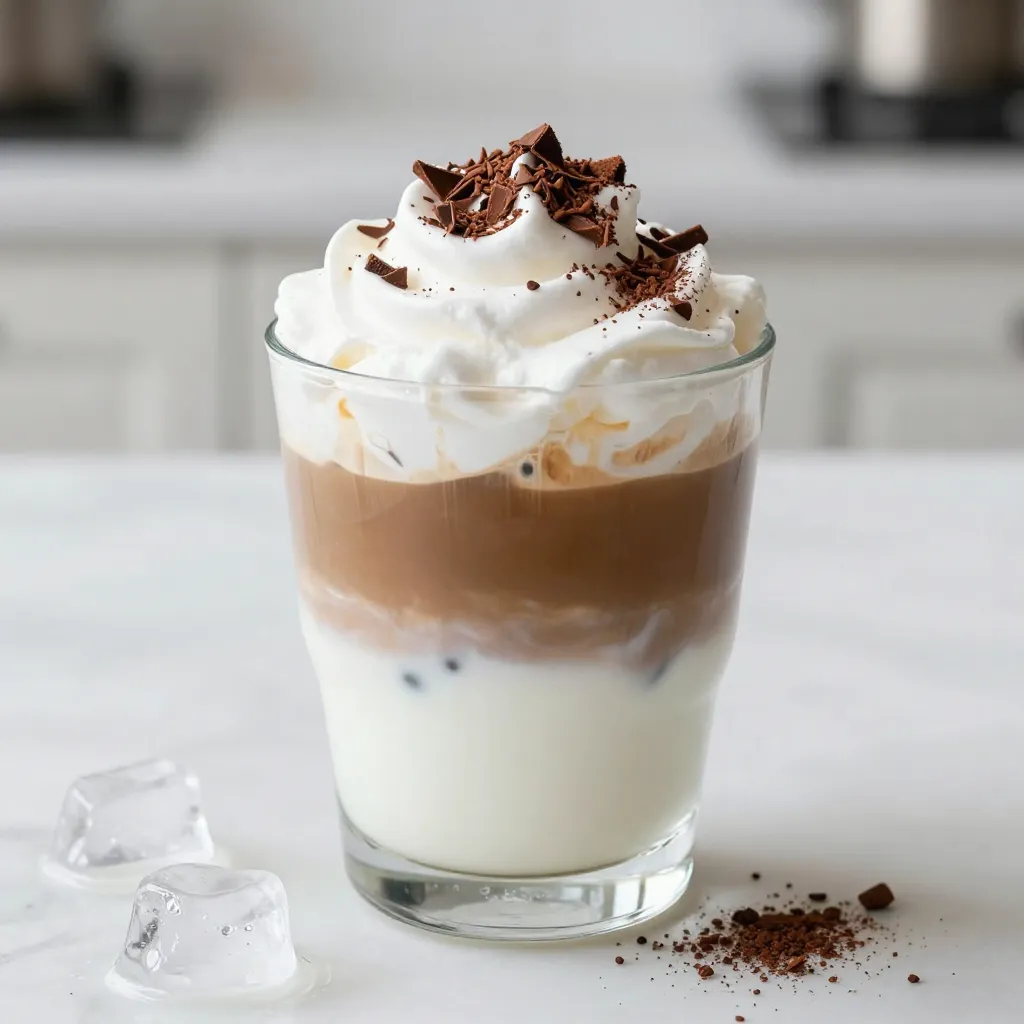
Mocha Dalgona Coffee Quick and Easy Recipe Guide
Looking for a delicious pick-me-up? You’re in the right place! This Mocha Dalgona Coffee recipe is quick and easy, and it delivers a creamy, whipped
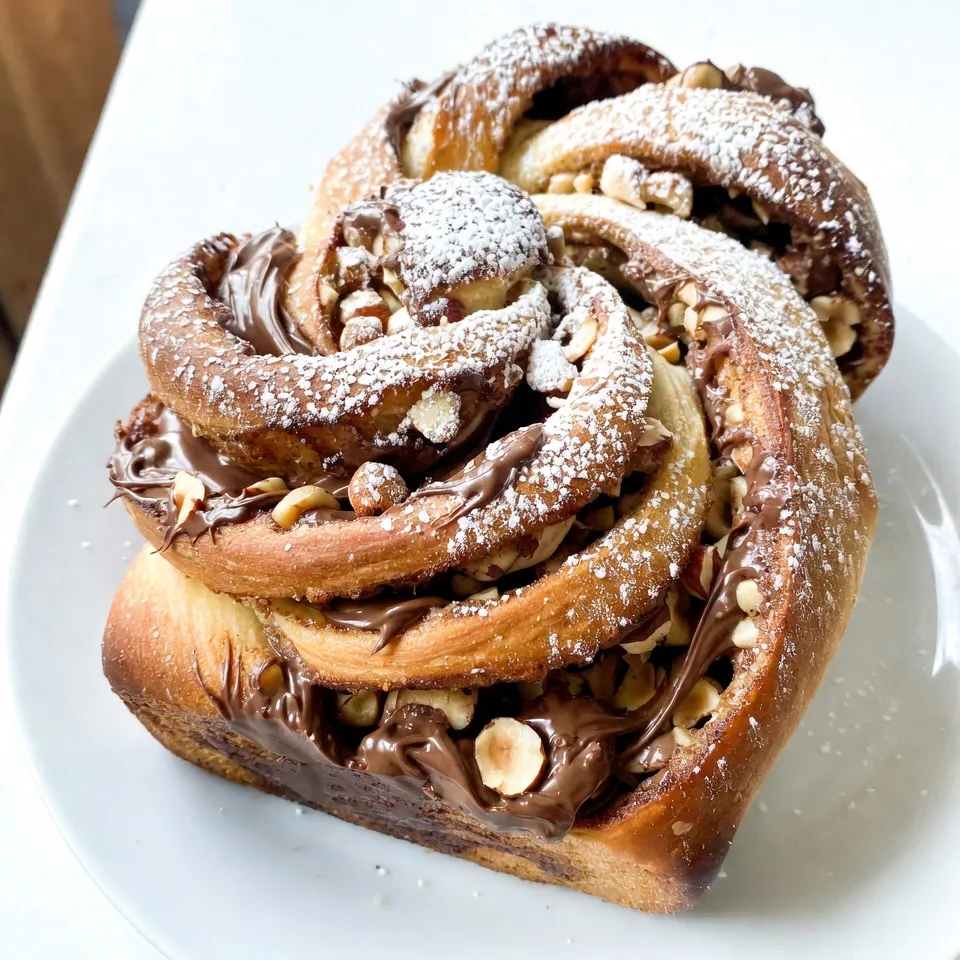
Chocolate Hazelnut Babka Delightful Homemade Recipe
Are you ready to bake something truly special? This Chocolate Hazelnut Babka is a delightful treat that combines rich flavors and soft, sweet bread. In
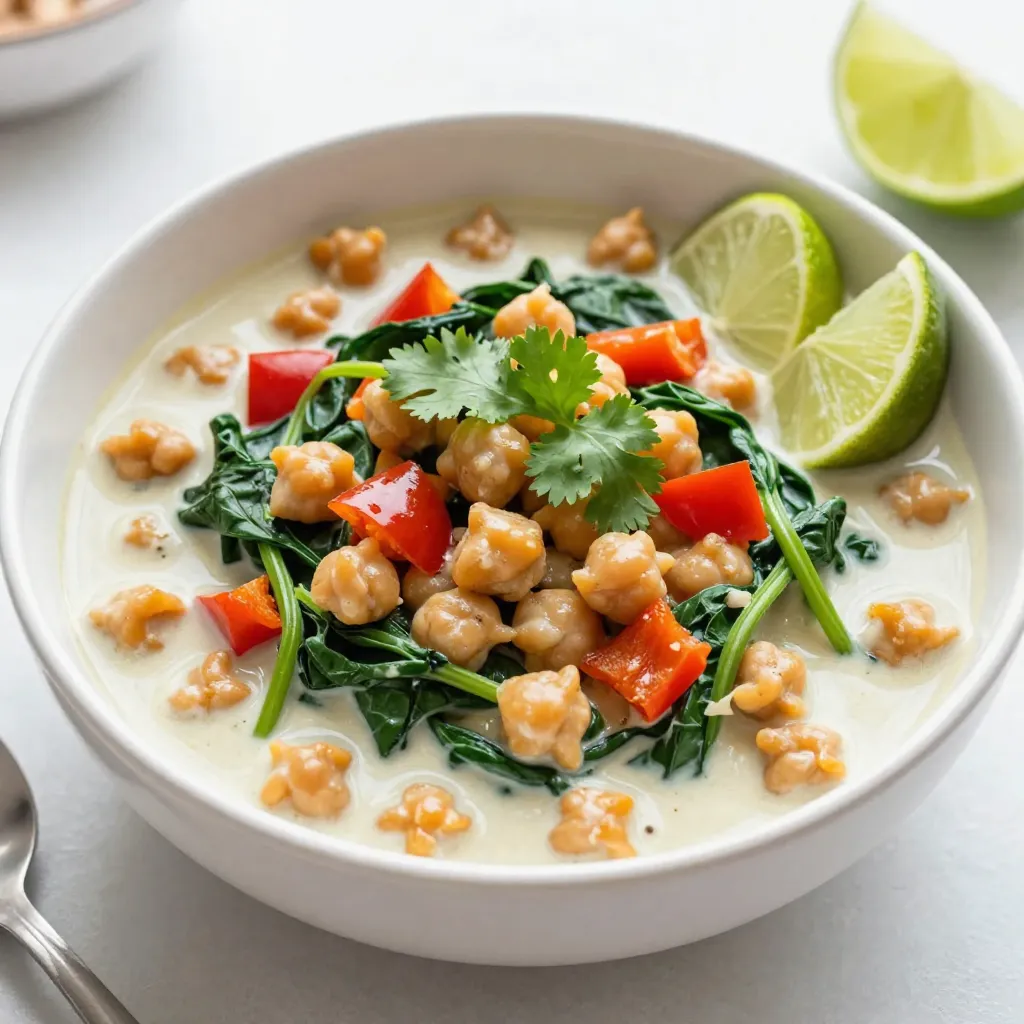
Coconut Curry Chickpeas Flavorful and Simple Dish
Coconut Curry Chickpeas are a joy to make and eat. This simple dish bursts with flavor and warmth. It’s easy to cook, and you likely

Crispy Baked Ground Beef Tacos Flavorful and Easy Meal
Are you ready for a fun and tasty meal? Crispy baked ground beef tacos are your answer! With simple ingredients and easy steps, you can